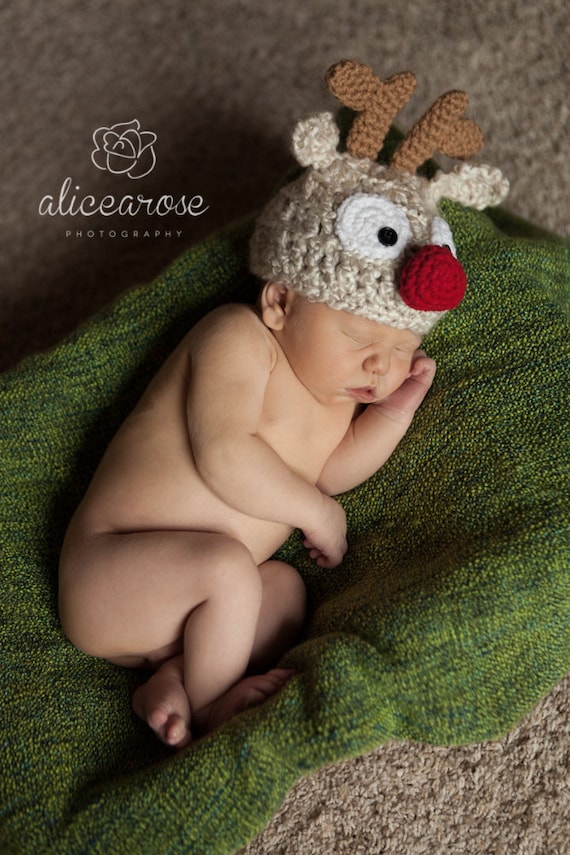
The fox
critter hats are ever so popular. I
really do think they’re the cutest things!
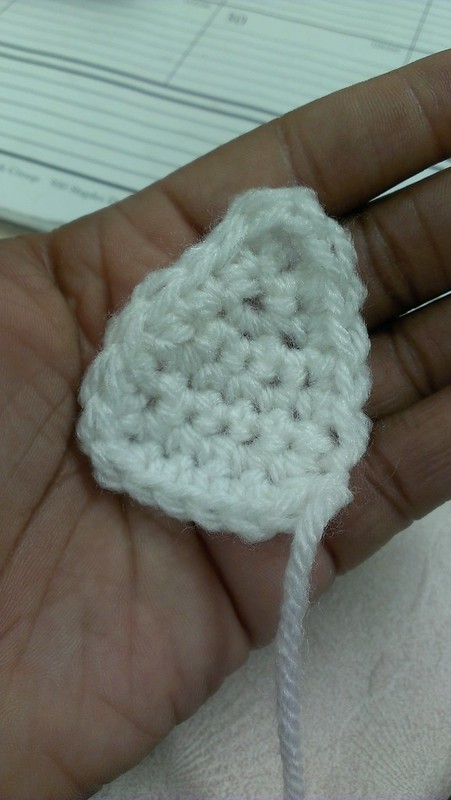
My favorite pattern to use is by Theresa Grant. You can find it here.
But, I like
things in sets. If there’s a top, there
must be a bottom, right? So, I decided
to add some shorts from my favorite go-to pattern by Veronica’s crochet. You can find that pattern here.
However,
every good fox needs and even better tail. I looked and looked and looked for one and was
unsuccessful. So, what do you know, I
made up my own.
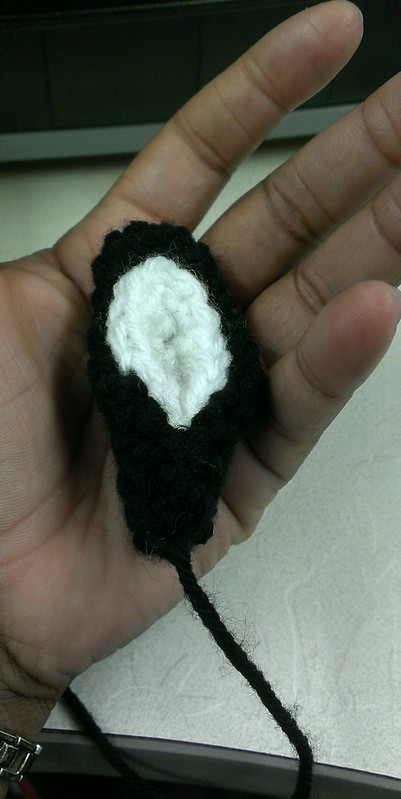
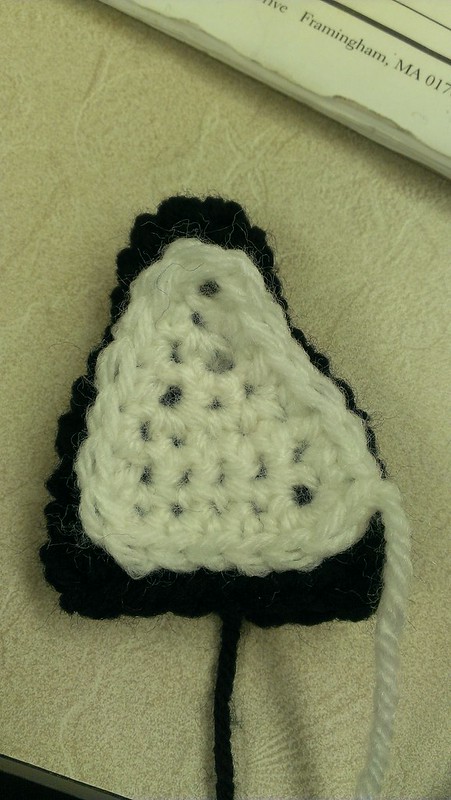
Fox Tail
Pattern
 Materials
Needed:
Materials
Needed:
2 Colors of
Yarn (I used Hobby Lobby's I Love This Yarn in Burnt Pumpkin and White)
Size H
(5.0mm) crochet hook
Yarn Needle
Instructions
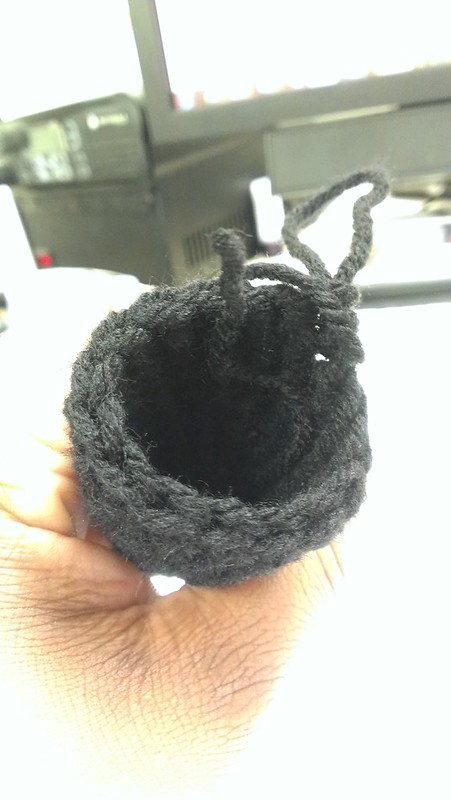
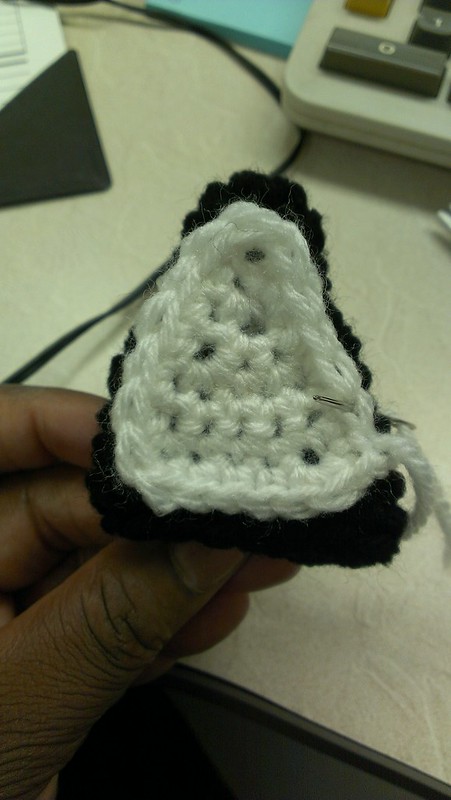
This tail is
worked in the round without joining. Use
a stitch marker if you need to.
With WHITE
yarn, chain 2.
HDC 6 in
first chain.
One HDC in
each HDC (Repeat 2 times more) – (3 rows, 6 stitches per row)
*2 HDC in
next stitch, 1 in the next*, repeat
around (9 stitches)
One HDC in
each HDC (9 stitches)
*2 HDC in next
stitch, 1 in next 2*, repeat around (12 stitches)
One HDC in
each HDC (12 stitches)
*2 HDC in next
stitch, 1 in next 3*, repeat around (15 stitches)
One HDC in
each HDC (15 stitches)
Join to
first HDC. Fasten off. Weave in end.
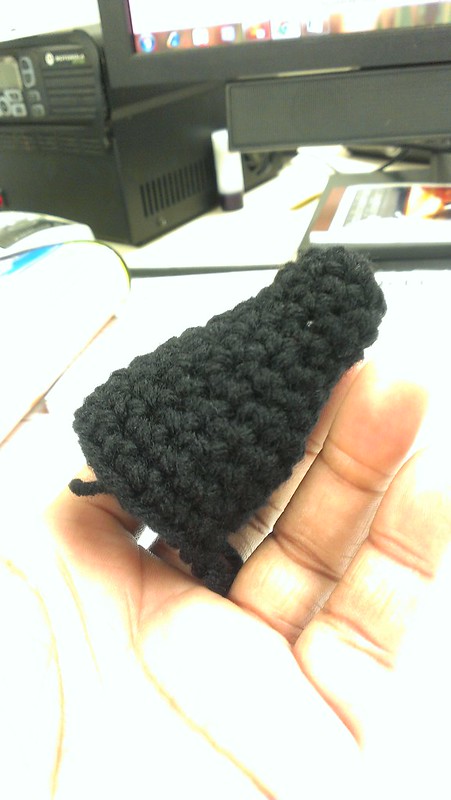
CHANGE to
BURNT PUMPKIN color!
Join new
color in first stitch.
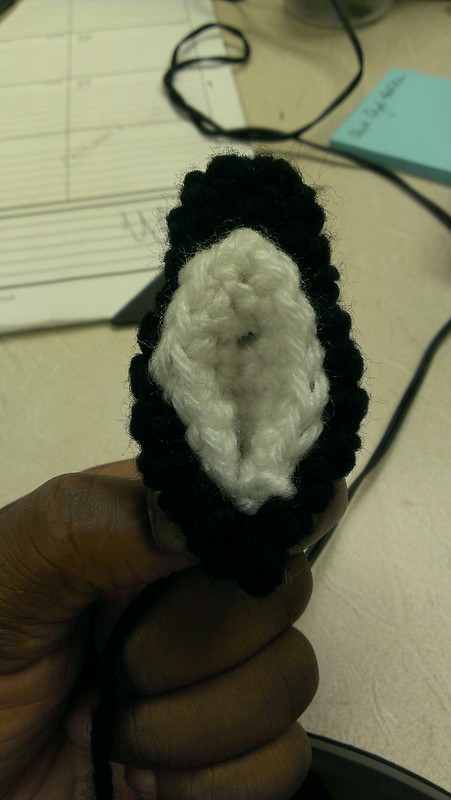
*2 HDC in
next stitch, 1 in next 4*, repeat around (18 stitches)
One HDC in
each HDC (18 stitches)
*2 HDC in
next stitch, 1 in next 5*, repeat around (21 stitches)
One HDC in
each HDC (21 stitches) – repeat for a total of 10 times (10 rows, 21 stitches
per row)
*HDC2TOG, 1
in next 5*, repeat around (18 stitches)
*HDC2TOG, 1
in next 4*, repeat around (15 stitches)
Fasten off,
leaving long enough tail to sew onto your preferred bottoms.
Enjoy
this! Of course, feel free to contact me
should you have any questions.